

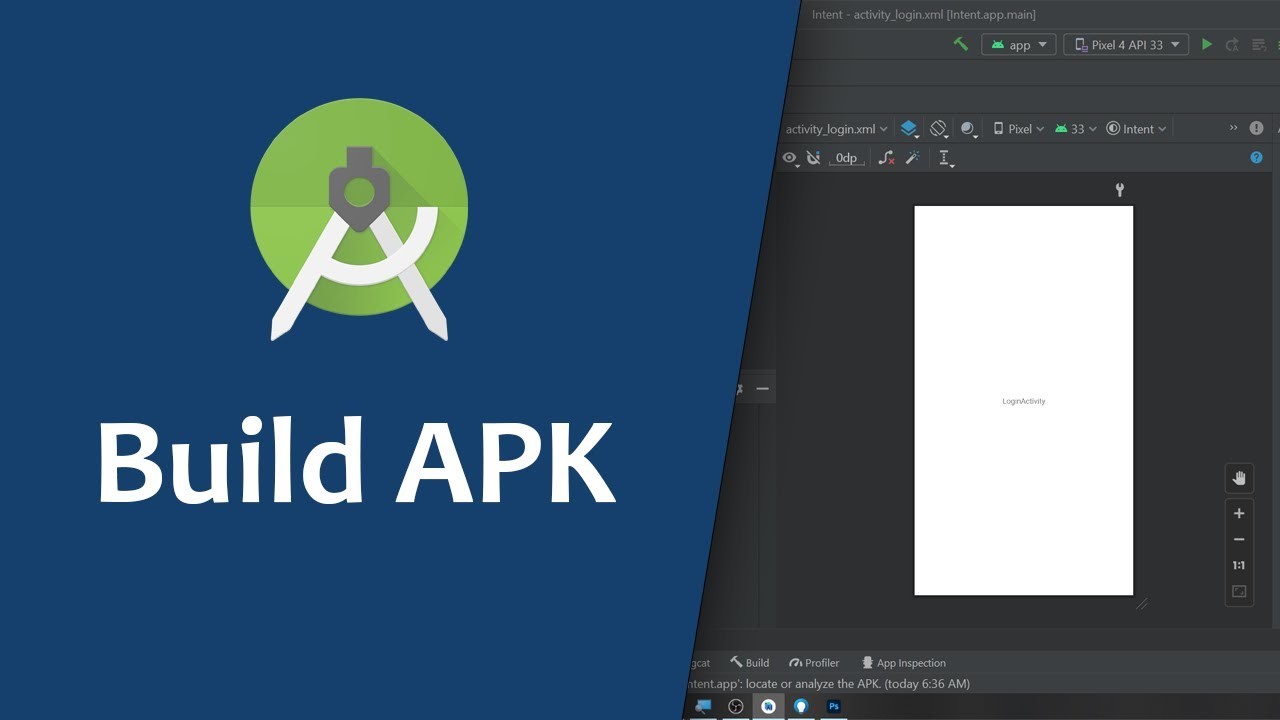
How to Generate APK and Signed APK Files in Android Studio
Introduction
Generating APK and Signed APK files in Android Studio is an essential process for Android app developers. This tutorial will provide a comprehensive guide for those who wish to understand the process of generating APK and Signed APK files in Android Studio 2023.
When considering APK and Signed APK files, it is important to understand the distinction between the two. An APK file is the basic package file for Android applications, which can be used to install applications on devices. A Signed APK file is an APK file that has been digitally signed to ensure its integrity and authenticity. It is usually used to distribute applications to the public.
Generating APK and Signed APK files in Android Studio 2023 is a simple process, but it requires an understanding of the software. In this tutorial, you will learn the prerequisites of generating APK and Signed APK files, as well as the necessary steps to generate them. Additionally, this tutorial will provide troubleshooting tips for any issues that may arise during the process.
By the end of this tutorial, you will be able to generate APK and Signed APK files from Android Studio with ease. The knowledge gained will be beneficial for all users who wish to develop applications for the Android platform. So, without further ado, let’s dive into the fundamentals of APK and Signed APK file generation in Android Studio 2023.
Prerequisites
Before you can generate APK and signed APK files in Android Studio, it is important to make sure you have all of the prerequisites met. Failing to do so can lead to difficulties or even failure while generating the files.
Operating System Prerequisites:
The first and most important prerequisite is the operating system. In order to generate APK and signed APK files in Android Studio, you must have a compatible operating system. This includes Windows, macOS, or Linux. Make sure the version you have is up-to-date to ensure compatibility.
Software Prerequisites:
You will also need the correct version of Android Studio 2023 installed on your machine. Ensure that you have the latest version as older versions may not be compatible. Additionally, you will need the Java Development Kit (JDK) in order to run Android Studio. Make sure the JDK version you have is up-to-date with the latest version of Android Studio 2023.
In addition to the prerequisites mentioned above, you should also make sure you have the necessary hardware and software prerequisites in order to generate APK and signed APK files in Android Studio. The hardware prerequisites include a device running a compatible version of Android OS. You should also have the necessary SDKs, USB driver, and ADB installed on your machine. The software prerequisites include the latest version of Gradle, an Android emulator, and an Android SDK.
Before you can generate APK and signed APK files in Android Studio, it is important to make sure you have all of the prerequisites met. Failing to do so can lead to difficulties or even failure while generating the files. Make sure you have the necessary operating system, software, hardware, and other requirements in order to get the most out of your experience with Android Studio 2023.
Step 1: Set Up Keystore
Making sure your application is successfully packaged and ready to be released to the app store is a crucial step in the development process. One of the ways to do so is by generating APK and Signed APK files, which can be done in the Android Studio 2023 IDE. Before you can generate a Signed APK file, you’ll need to set up a keystore.
A keystore is a password-protected file that stores the certificates you use to sign and publish your app. It is important that you keep your keystore in a safe place; it is the only way to sign your application in the future.
Creating a Keystore
The first step in setting up a keystore is to create a keystore. You can do this by selecting the “Key/Store Manager” option from the “Tools” menu in Android Studio.
Once the Keystore Manager window opens, click the “Create New” button and enter the keystore information. Make sure to select a strong password for your keystore. This password will be used to sign and publish your app in the future.
Next, enter a name and path for the keystore. Then, choose the keystore type and select a signature algorithm. The most common type of keystore is a “JKS”, which stands for Java KeyStore.
Once all the information has been entered, click the “Create” button to create the keystore. You can then close the Keystore Manager window.
Entering Keystore Information
The next step is to enter the keystore information. This can be done in the “Signature” tab in the “Build” section of the “Build Variants” window.
First, select the “signingConfigs” option in the “Build Variants” window. Then, select the “signingConfigs” option in the “Signature” tab.
Next, select the “Add New Keystore” button and enter the keystore information. Enter the name and path of the keystore you created earlier. Then, enter the keystore password and select a signature algorithm.
Once all the information is entered, click the “Save” button. You’ll then be ready to generate APK and Signed APK files in Android Studio.
Step 2: Generate Signed APK File
Generating a signed APK file in Android Studio 2023 is a multi-step process. This section will provide a step-by-step guide to ensure that you generate a signed APK file correctly.
Generating a signed APK file requires a keystore file. Therefore, you need to create and set up a keystore as described in the previous section. Once your keystore is created and configured, you can begin generating the signed APK file.
To generate the signed APK file via Android Studio 2023, open the project you wish to generate an APK for. You can do this by selecting the project from the list in the welcome window. When the project is open, select Build > Generate Signed APK from the top menu. You will then be prompted with a Generate Signed APK dialog box.
In the Generate Signed APK dialog box, select Choose existing and locate your keystore file. You will then need to enter the keystore password to successfully generate the signed APK file. After entering the keystore password, you will be prompted to enter the certificate information. Enter the correct information and select OK to continue.
Once all the required information is entered, select Next to continue. You will then be prompted with the Build Type selection dialog box. Select your desired build type and select Finish to generate the signed APK file. Once the signed APK file is generated, you can check it in the project’s build directory.
When the signed APK file is generated and checked in the build directory, you can proceed to generate an APK file. Generating an APK file follows the same process as generating the signed APK file. To generate an APK file, select Build > Generate APK from the top menu. You will be prompted with the Generate APK dialog box. Select the desired build type and select Finish to generate the APK file. Once the APK file is generated, you can check it in the project’s build directory.
Generating APK and signed APK files in Android Studio 2023 can be a complicated process, but with this guide, you can generate the required files without any hiccups. Make sure to double-check your signed APK and APK files to ensure they are correctly generated before releasing them.
Step 3: Generate APK File
Generating an APK file is the final step in the process of creating an Android application. It is important to note that the APK file is not the same as the Signed APK. A signed APK is required to be able to deploy the application to the Google Play Store and other app stores. The APK file is the file that contains the compiled code, resources, and other information needed for the app to run. It is used for distributing and installing the app on the device.
In order to generate an APK file, you will need to use a tool from the Android Studio. To generate the APK file, open the Android Studio and navigate to the project you want to generate the APK from. In the “Build” menu, select “Generate Signed APK”. You will be presented with the “Generate Signed APK Wizard”. In this window, select the keystore you created in Step 1 and enter the necessary information.
Once the information is entered, click on “Next”. On the next window, you will be presented with multiple options related to the APK file. You can select the type of APK that you need. Generally, you will need to select the “Release” option. You can also choose the build type, the minify setting, and other options related to the build process. Once you are done selecting the options, click on the “Finish” button.
The Android Studio will start generating the APK file and in a few minutes, the APK file will be generated. Once the APK file is generated, you can find it in the “app” module of the project. The APK is located in the “build/outputs/apk/release” directory of the project. You can also find the APK in the “Projects” window in the left pane of the Android Studio.
It is important to check the APK file that has been generated. You can do this by using the Android Device Monitor. To access the Android Device Monitor, open the “Tools” menu in the Android Studio and select “Android Device Monitor”. Once the Android Device Monitor is open, select the device on which you want to install the APK and click on the “Install” button. Browse to the location of the APK file and select it. The APK will be installed on the device and you can use it to test the app.
Now that you have generated an APK file in Android Studio, you are ready to distribute the app or submit it to the Google Play Store. Generating an APK is a critical step in the development process and should be done carefully.
Troubleshooting
When generating your APK and signed APK files in Android Studio 2023, there can be certain issues that can arise. It is important to understand what these common issues are and how to resolve them.
One of the most common issues that comes up when generating APK and signed APK files is the error message “keytool error: java.io.FileNotFoundException: Keystore file does not exist”. This occurs when the user does not have a valid keystore file in the correct location. To resolve this issue, the user needs to make sure that they have created a valid keystore file and that it is in the correct location.
Another common issue when generating APK and signed APK files is the error message “jarsigner error: java.lang.IllegalArgumentException: keystorePassword must not be null”. This occurs when the user has not entered the keystore password correctly. To resolve this issue, the user needs to make sure that they have entered the keystore password correctly.
A third common issue is the error message “jarsigner error: java.lang.NullPointerException: keystore not found”. This occurs when the user has not specified the location of the keystore file correctly. To resolve this issue, the user needs to make sure that they have specified the correct location of the keystore file.
A fourth common issue is the error message “jarsigner error: java.security.SignatureException: Missing Key Store Exception”. This occurs when the user has not specified the correct keystore file. To resolve this issue, the user needs to make sure that they have specified the correct keystore file.
Finally, a fifth common issue is the error message “jarsigner error: java.lang.SecurityException: invalid keystore format”. This occurs when the user is trying to generate the APK and signed APK files from an invalid file format. To resolve this issue, the user needs to make sure that they are generating the files from a valid file format.
By understanding these common issues that can arise when generating APK and signed APK files in Android Studio 2023 and knowing how to resolve them, users can ensure the successful generation of APK and signed APK files.


Comments (0)