


Step-by-step Guide: How To Rename Package Name In Android Studio 2023?
Introduction
Android Studio is a popular development platform for creating modern mobile applications. It offers an intuitive interface for coding and managing projects in different programming languages. Since the package name is an important part of the app's identity, it is important to know how to easily rename it when necessary.
In this tutorial, we will provide a step-by-step guide on how to rename package name in Android Studio. We will start by providing an overview of the process and a quick summary of the steps. Then, we will walk through the process in detail, from accessing the project structure to generating the final APK file.
When it comes to renaming package names, it is important to remember that this process is irreversible. Once the package name has been renamed, the only way to undo this is by creating a new project and copying the old source files over. Therefore, caution should be taken when making this change.
Aside from that, this guide will also provide some tips and pointers on how to verify if the package name has been successfully changed. Additionally, it will give an overview of the project rebuild process and a brief introduction to the manifest file.
By the end of this tutorial, readers should have all the knowledge they need to confidently change package name in Android Studio 2023.
So, let's get started!
Step 1: Access Project Structure
In order to rename the package name in Android Studio, you first need to access the Project Structure. This is a step-by-step process that requires you to open the Android Studio program, select the project from the drop-down menu, locate the File tab in the toolbar, and then click on the "Project Structure" option.
First of all, open the Android Studio program. You can do this by double-clicking the icon on the desktop, or by searching for it in the Start menu. Once the program is open, you will see a drop-down menu that allows you to select a project. Choose the project that you want to rename the package name for.
Once you have selected the right project, you need to locate the File tab in the toolbar. This tab should be located in the upper left corner of the window. Once you have located the File tab, click the tab to expand it. This will open a new menu with several options, one of which is "Project Structure". Click on this option to open the Project Structure window.
The Project Structure window contains several tabs on the left side. These tabs allow you to access different elements of the project, such as the module, build types, flavors, and dependencies. In this case, you need to select the "Modules" tab. This tab will open a list of all the modules in the project, with "app" being the most important one. Select "app" from the list to open the module settings.
Once you have selected the "app" module, you will see a new tab appear in the upper part of the window. This tab is labeled "Flavors". Select this tab to open the flavors settings. This is where you can change the package name for the project. There will be a field labeled "Application ID" that contains the current package name. This is the field that you need to change to rename the package name. Change the package name to the new name that you want to use, and then click the save button to apply the changes.
Now that you have successfully accessed the Project Structure and changed the package name, you can move on to the next step in the process.
Step 2: Change Package Name In Android Studio 2023
Once you have accessed the project structure, the next step in renaming the package name in Android Studio is to change the package name. To do this, first locate the Modules tab on the left side of the project structure window. Here, you will find a list of modules associated with your project. Select the “app” from the list and then select the “Flavors” tab from the menu. Afterwards, you will find the “Application ID” field on the bottom of the flavors section. This is where you need to enter the new package name.
Now, you might be wondering how to rename the package in the project structure tree. To do this, let's take a look at the project structure tree on the left side of the project structure window. Here, you will find a folder with the name of your project at the very top. This folder is followed by two other folders, namely, the “app” and “src” folders. The package name is located in the “src” folder. To change the package name, simply double-click on the folder and enter the new name in the name field.
It is important to remember that changing the package name in the project structure tree does not mean that the package name has been successfully renamed. To make sure that the package name has been successfully renamed, you should check the package name in the “Application ID” field of the Flavors tab. Make sure that the package name in the project structure tree and the “Application ID” field match.
Once the package name has been successfully changed in the project structure window, you should move on to the next step in the process which is to rebuild the project. Rebuilding the project is necessary to make sure that all the changes you have made are in effect. To rebuild the project, simply select the “Build” from the menu and click on the “Rebuild Project” option. This will trigger the build process and create a new APK file with the newly renamed package name.
However, there is one more step you need to take before you can generate the new APK file. This step involves changing the package name in the Manifest file. To do this, first locate the Manifest file in the Android Studio project explorer. Once you have opened the Manifest file, you should look for the package name in the XML. Here, you will find the package name in the “package” attribute. Change the package name to the new package name and save the file.
Now that you have changed the package name in the Manifest file, you should verify the package name of the APK file. To verify the package name, open the APK file with WinRAR. In the WinRAR window, you should locate the “AndroidManifest.xml” file. Once you have opened the file, look for the “package” attribute and check the package name. Make sure that the package name in the Manifest file and the package name in the APK file match.
Once you have verified the package name, the last step is to generate the APK file. To do this, select the “Generate Signed APK” option from the Build menu. This will generate the APK file with the newly renamed package name. After the APK file has been generated, you should check the package name of the file again to make sure it is the same as the package name in the Manifest file and the “Application ID” field in the Flavors tab.
By following the above steps, you can easily rename package name in Android Studio 2023. The process is simple and straightforward, and it is a good idea to follow the steps carefully to make sure that the package name has been successfully changed.
Rename the Package Name In Android Studio
Renaming the package in Android Studio is an essential step when creating apps. Doing so ensures that your app is uniquely identified by the Android platform. In this section, we will discuss how to change the package name in Android Studio and how to check if the package name has been successfully renamed.
The process to rename the package name in the project structure tree begins with opening the Android Studio and selecting the project from the drop-down menu. After that, the File tab in the toolbar must be located and clicked on to access the “Project Structure.” Once inside the Project Structure, users must find the Modules tab on the left side and select “app” from the module list. Finally, the “Flavors” tab from the menu must be selected and the package name can then be changed in the “Application ID” field.
After the package name has been changed, users should check the project structure tree to make sure the package name has been successfully changed. To do this, users must access the tree by clicking on the “Project” tab and selecting “Android” from the drop-down menu. Once inside, users can check the package name in the tree. It should match the name that was entered in the “Application ID” field.
Once the package name has been changed, users must rebuild the project. To do this, they must select “Build” from the menu and click on “Rebuild Project.” This will ensure that the project is built with the new package name.
After the project has been rebuilt, users must also make sure that the manifest file contains the new package name. To do this, they must open the Manifest file and change the package name manually. Once the package name has been changed in the manifest file, users must check the package name before generating the APK file. To do this, users must open the apk file with WinRAR and locate the “AndroidManifest.xml” file. This file will contain the package name that was entered in the “Application ID” field.
Once the package name has been verified, users can then generate the APK file and check the package name of the APK. This will ensure that the new package name has been successfully changed.
By following the steps outlined in this section, users can easily rename the package name in Android Studio. It is important to remember to check the project structure tree, rebuild the project, and verify the package name of the APK before generating the APK file. Doing so will ensure that the package name has been successfully changed.
Step 3: Rebuild the Project
Now that the package name has been successfully changed, the next step is to rebuild the project. This step is necessary to ensure that the package name change is reflected throughout the project.
To begin, open the Android Studio and select the ‘Build’ option from the menu bar. This will open the Build window.
In this window, you will find several menu options. From these options, select ‘Rebuild Project’. Click on this option to initiate the project rebuilding process.
The rebuilding process will generate a new version of the APK file. This file will contain the updated package name. During this process, the Android Studio will automatically detect any errors or inconsistencies in the project. If the compiler finds any errors, it will notify the user and halt the process until the errors are corrected.
Once the rebuilding process is complete, the user will be notified of the successful completion. This means that the package name has been successfully changed in the project.
However, it is important to bear in mind that the package name must also be changed in the AndroidManifest.xml file. This step has to be performed in order to ensure that the package name change is reflected throughout the entire project.
Therefore, once the rebuilding process is done, the user should perform the next step in order to make the changes to the AndroidManifest.xml file. This will ensure that the package name change is reflected in the entire project.
Step 4: Change the manifest
Now that you have renamed the package name in the project structure, it's time to make sure that the manifest file also reflects the newly changed package name. The manifest file is an important part of the application as it contains declarations of the application components. The manifest also contains permission settings for the application.
To begin, open the manifest file located in the app folder. The manifest file is the very first file in the folder and is called “AndroidManifest.xml”. Once you have opened the file, you will need to locate the package name that you want to change.
To change the package name, replace the old package name with the new one that you have already entered in the project structure window. Make sure that the spelling, spacing, and case are all correct. This is very important as the changed package name will be used in all the activities of the application.
The “application” tag of the manifest should also be updated with the new package name. This will help ensure that the links to the activities, services, and content providers are all updated. The “intent-filter” tag should also be updated with the new package name. This is important for the correct functioning of the application.
You can also change the “versionName” and “versionCode” attributes of the manifest file. This is an optional step but it is recommended as it allows you to keep track of the different versions of the application. This step is especially useful for tracking bug fixes and other changes in the application.
Once you have finished changing the package name in the manifest file, save the file and close it. You may now proceed to the next step to verify the package name.
Step 5: Verify Package Name
Now that you have changed the package name, it’s time to verify if the package name has been successfully modified. To do this, open the APK file with WinRAR. This can be done by right-clicking the file and selecting “Open with WinRAR”. Once it is opened, locate the “AndroidManifest.xml” file. This file will contain the new package name. If you open it with a text editor, you will be able to see the package name that is specified in the manifest.
If the package name in the manifest matches the package name that you have provided in the project structure, then you can be sure that the package name has been successfully modified. If it doesn’t match, then you may need to go back and change the package name again.
It is important to note that the package name change can be done in two ways. The first way is to change it in the project structure. The second way is to change it in the manifest file. Both methods should be used in order to guarantee that the package name has been changed correctly.
If you run into any issues during the package name modification process, you can always refer to the Android Studio documentation. The documentation is well written and can provide you with additional information regarding the various aspects of the Android development process.
When verifying the package name, make sure that you are changing the package name in both the project structure and the manifest file. This will ensure that the package name has been changed correctly. Additionally, you should also ensure that the package name matches the one that is specified in the project structure. If they do not match, then you may need to go back and modify the package name again.
It is also important to note that the package name change process is not permanent. If you ever need to revert back to the old package name, you can do so by changing the package name in the project structure and the manifest file.
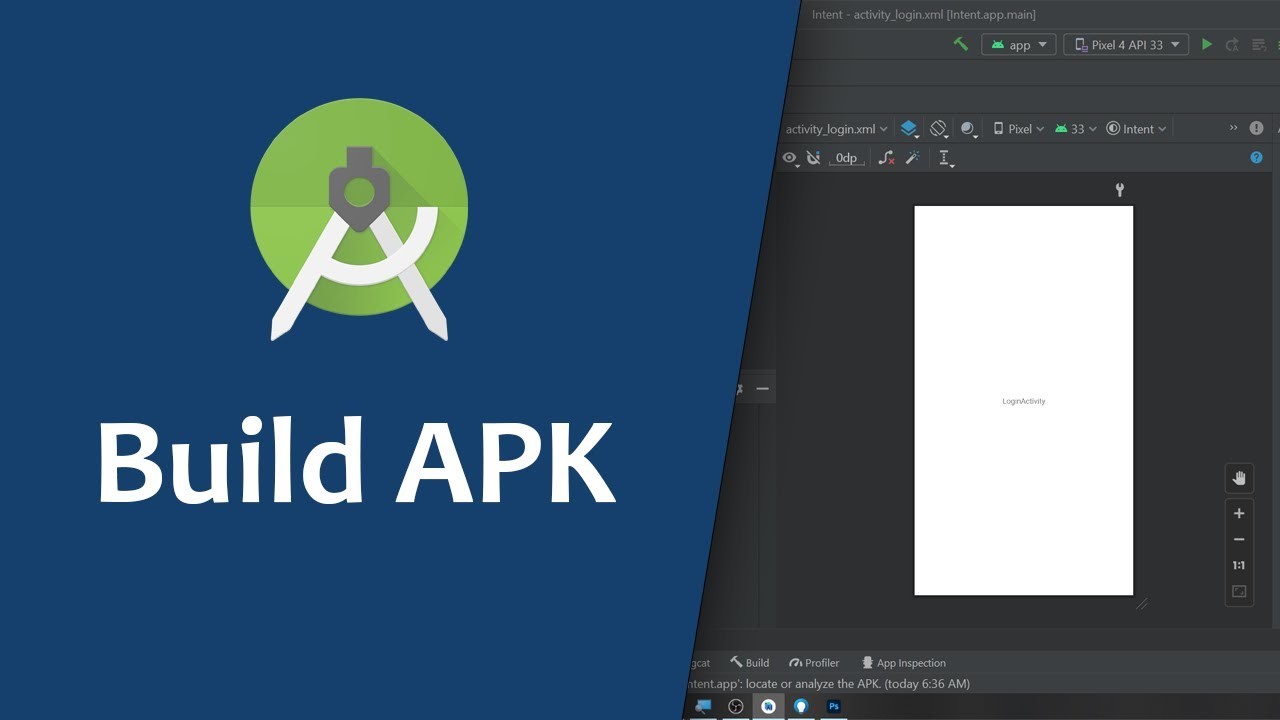
Step 6: Generate the APK
Generating the APK file is the final step in renaming the package name in Android Studio. An APK (Android Application Package) file is a package file format used for distributing files and installing them on the Android platform. So, after making the necessary changes to the package name, the APK file must be generated in order to check if the package name has been successfully changed.
In order to generate the APK file, open Android Studio. Select the project from the drop-down menu and locate the “Build” tab in the toolbar. Click on “Build > Generate Signed APK”. This will open a window where you can select the keystore and sign the APK with the necessary keystore.
Once the keystore and certificate have been chosen, select the build type by ticking the boxes on the left side of the screen. Select the Android version and the architecture. Finally, click on “Generate Signed APK”. This will generate the APK file in the specified path.
The next step is to check the package name of the APK. To do this, open the APK file with WinRAR or any other file extracting tool. Locate the “AndroidManifest.xml” file in the root folder. This file contains the package name of the application.
If the package name of the APK matches the one specified in the project structure, then the package name is successfully changed. However, if the package name is still the same as the old one, then the package name has not been changed. In such cases, you need to go back and check the steps again.
Once the package name is successfully changed, you can deploy the application to the Play Store or any other platform. This will ensure that your application is correctly identified by the platform.
Generating the APK file is an important step in renaming the package name in Android Studio. By following the right steps, you are able to generate the APK file and check if the package name has been changed successfully. This ensures that your application is identified correctly by the platform and can be deployed without any issues.
Conclusion
In this step-by-step guide, we have discussed the process of renaming the package name in Android Studio. We have covered the necessary steps, from accessing the project structure to generating the APK file to verify the package name. With this guide, you should now have a clear understanding of how to rename the package name in Android Studio.
To summarize the process, you first need to access the project structure by opening Android Studio and selecting the project from the drop-down menu. Once you have accessed the project structure, you can then change the application ID. After this, you should rename the package and rebuild the project. You must also remember to change the manifest and verify the package name before generating the APK.
With this guide, you should now have a better understanding of how to rename the package name in Android Studio. However, it is important to note that this process is not straightforward, and you should take the time to make sure all the changes are made properly. Additionally, it is important to check the package name of the APK file to ensure the package name has been changed correctly.
By following the steps outlined in this guide, you should now be able to rename the package name in Android Studio without any issues. To ensure a smoother process, make sure to pay attention to every step and double-check the package name of the APK file. This will help to ensure the package name is changed correctly and all other aspects of the project are not affected.


Comments (0)